
Ever watched a potter transform a lump of clay into a beautiful, functional vessel and felt a pull to try it yourself? You’re not alone. The desire to create with our hands is a timeless human impulse. Yet, the idea of walking into a pottery class for the first time can be daunting. What should you expect? What do you need to bring? Will you just make a wobbly, muddy mess?
This comprehensive guide is designed to demystify the entire process. We’ll walk you through every step—from finding the perfect local or online pottery class to walking out with your very first creation. Consider this your friendly, clay-splattered mentor, here to ensure your entry into the world of pottery is as smooth as a well-thrown pot.
Why Take a Pottery Class? Beyond the Vase

Before we dive into the “how,” let’s solidify the “why.” The benefits of engaging in a pottery class extend far beyond the physical object you take home.
- Tactile Therapy: In our digital world, pottery forces you to engage physically and mentally with a natural material. The sensory experience of clay is proven to reduce stress and promote mindfulness.
- The Joy of Tangible Creation: There’s an unparalleled satisfaction in using something you made with your own hands—your morning coffee tastes better in a mug you crafted.
- A Welcoming Community: Pottery studios are inherently social spaces. You’ll meet people from all walks of life, united by a shared interest in making.
- Cognitive Boost: Hand-eye coordination, spatial reasoning, and problem-solving (how do I fix this collapsing rim?) are all actively engaged.
Your Pre-Class Checklist: 5 Things to Do Before You Go
- Research Local Studios & Instructors: Use search terms like “beginner pottery class near me” or “wheel throwing introductory course.” Look at studio websites, Instagram feeds (a great way to see student work), and reviews.
- Choose Your Format: Options abound! One-off taster sessions are low-commitment. Multi-week courses (typically 4-8 weeks) provide proper skill development. Some studios also offer private lessons or open studio membership for the committed.
- Dress the Part: This is a hands-on, potentially messy activity. Wear comfortable clothes you don’t mind getting clay on (it washes out, but don’t wear your best outfit). Avoid dangling jewelry, sleeves, and long nails can be tricky for wheel work.
- Mindset Matters: Embrace the beginner’s mind. Your first piece might not be gallery-ready, and that’s perfectly okay. Every master potter once made their first asymmetrical bowl. The goal is learning and enjoyment.
- Ask Questions: Before booking, don’t hesitate to email or call the studio. What’s included in the fee? Does it cover materials, firing, and glazing? What’s their cancellation policy?
A Walkthrough: What to Expect in Your First Class
While every pottery class is unique, most beginner sessions follow a similar flow.
The Welcome & Introduction: You’ll likely start with a tour of the studio—meeting the wheels, kilns, glaze area, and tools. Safety and studio etiquette (clean as you go!) are usually covered first.
The Clay Preparation: You’ll learn to “wedge” clay. This kneading process removes air bubbles (which can cause explosions in the kiln!) and creates a uniform consistency. It’s a great arm workout and a first connection with the material.
The Centering Demo: This is the foundational skill for wheel throwing. The instructor will demonstrate how to anchor the clay to the wheel head and use steady pressure to make it perfectly centered—a spinning, balanced cone. It looks like magic but is a learnable technique.
Your Hands-On Time: Then, it’s your turn. You’ll get a ball of clay and have at it. Expect wobbles. Expect to use more water than you thought. Your instructor will circulate, offering guidance and hands-on help (they’ll always ask before touching your work).
The Next Steps: If it’s a single session, you’ll likely learn how to trim your leather-hard piece a week later or choose a glaze color. In a course, you’ll build on this skill each week.
Studio Etiquette: The Unspoken Rules
Being a good studio citizen ensures everyone has a positive experience.
- Cleanliness is Key: Clean your wheel, tools, and work area thoroughly after use. Leave no trace of your clay for the next person.
- Respect Shared Tools & Glazes: Return tools to their proper place. When using communal glazes, don’t contaminate them by dipping a dirty piece or pouring unused glaze back.
- Mind the Kiln Space: Firing is a precious resource. Don’t leave unfinished, bone-dry pieces lying around for weeks. Label your work clearly.
- Embrace the Community: Be supportive, ask questions, and share in the communal learning. Offer a kind word to the person at the next wheel.
Handbuilding vs. Wheel Throwing: Which is Right for You?
Most beginner pottery classes focus on one of these two core techniques.
Wheel Throwing: The iconic method. You create symmetrical forms (mugs, bowls, plates) on a spinning electric wheel. It requires practice to master coordination and pressure but offers immense satisfaction. It’s dynamic and process-focused.
Handbuilding: This encompasses techniques like pinch pots, coil building, and slab construction. It’s often considered more accessible for absolute beginners, as you work at a table with direct hand control. It’s excellent for sculptural work, tiles, and asymmetrical forms. Many artists combine both techniques.
From Wet Clay to Finished Piece: Understanding the Firing Process
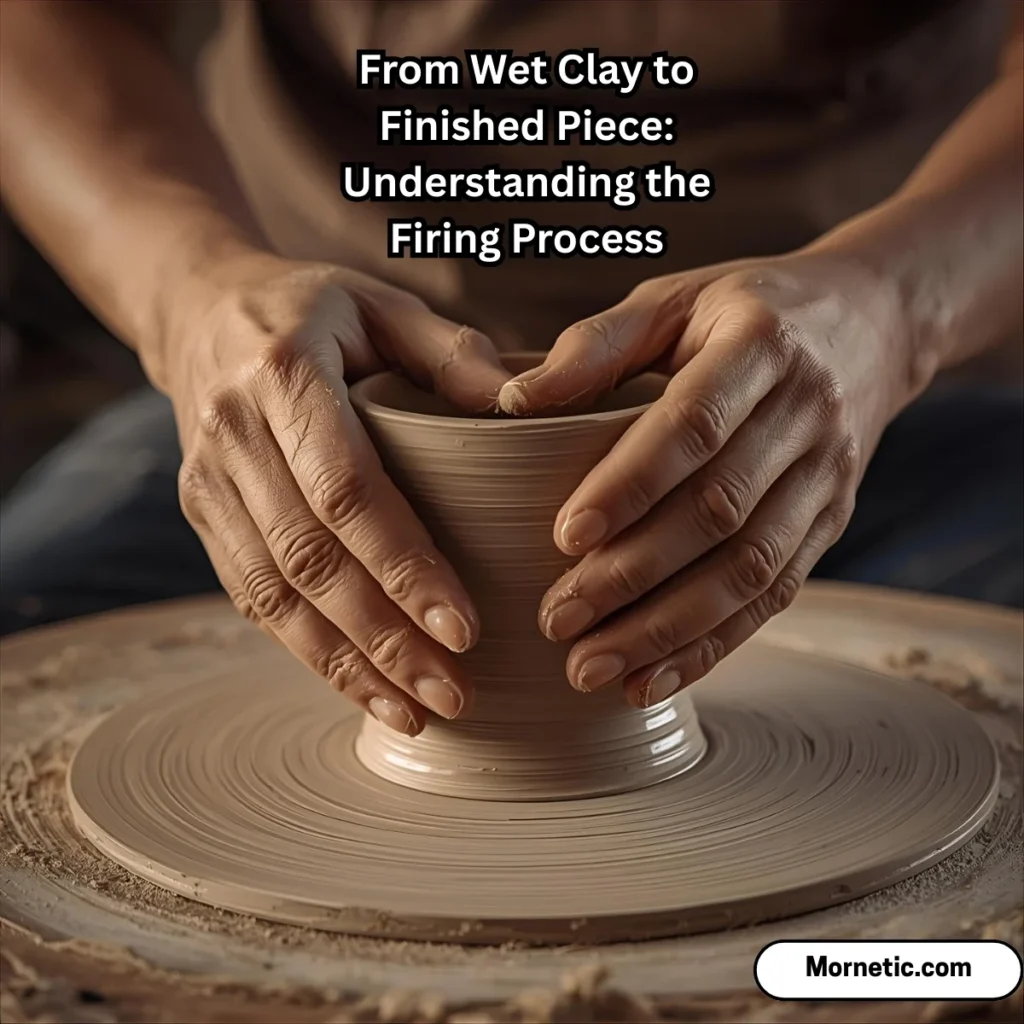
Your work isn’t done when class ends. Your piece goes on a journey:
- Leather Hard: After a day or two, it’s firm but still damp. This is when you can trim excess clay and add handles.
- Bone Dry: All moisture has evaporated. It’s extremely fragile at this “greenware” stage.
- Bisque Firing: The first kiln firing at ~1800°F. This turns the clay into a permanent, porous ceramic state called “bisqueware.”
- Glazing: You apply food-safe, glass-forming liquids to color and seal your bisqueware.
- Glaze Firing: A second, often hotter, firing melts the glaze into a smooth, glassy coating. After the kiln cools, your finished piece is ready!
Taking the Next Step: From Class to Hobby
Catch the pottery bug? Here’s how to deepen your practice.
Continuing Education: Sign up for a more advanced pottery class focusing on specific skills like large forms, lids, spouts, or glaze chemistry.
Open Studio Memberships: Many studios offer monthly memberships for independent practice. This gives you access to wheels, tools, kilns, and glaze for your own projects—a cost-effective next step.
Creating a Simple, Ethical Home Pottery Setup
If you’re ready to explore at home, start small and responsibly. Note: Always research local regulations regarding clay disposal (never pour clay water down household drains).
- A Dedicated Space: A basement, garage, or well-ventilated spare room with easy-to-clean surfaces.
- Handbuilding Starter Kit: You can begin with just a non-porous surface, a rolling pin, some basic modeling tools, and a few pounds of air-dry or oven-bake clay to avoid kiln needs initially.
- For Wheel Throwing at Home: This is a bigger investment. You’ll need an electric wheel, a kiln (which requires proper electrical setup and ventilation), clay, tools, and glazes. Consider starting with handbuilding to confirm your passion before this commitment.
- Recommended Starter Tools: A basic pottery tool kit (including a wire cutter, rib, loop tools, sponge, and needle tool) is an excellent, affordable investment for any new potter. Having your own reliable set enhances your practice in class or at home.
The Digital Potter: Exploring Online Pottery Classes
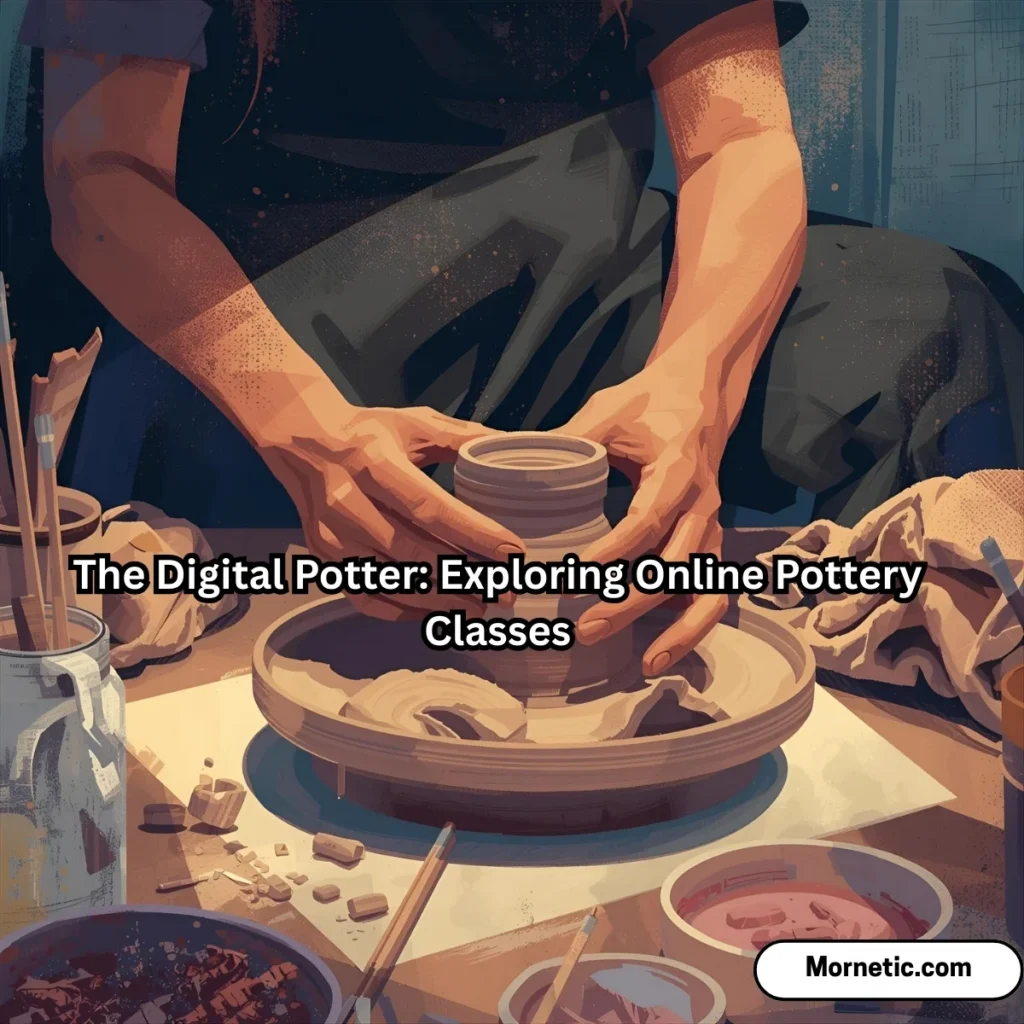
The rise of high-quality online learning has made expert instruction accessible to all. Platforms like Skillshare and dedicated ceramic artists’ websites offer pre-recorded courses on everything from beginner techniques to advanced sculpture. These are fantastic for visual learners and those without local studio access. You can practice handbuilding skills at your own pace, though you’ll need to source your own materials and firing solutions (like a community studio’s kiln services).
Pottery as a Mindful Practice
Beyond craft, pottery is a profound exercise in presence. The clay responds instantly to your state of mind—if you’re rushed or frustrated, the wheel will show it. Learning to breathe, focus, and accept imperfections on the wheel is a lesson that flows off the wheel and into daily life. Your pottery class might just become your weekly meditation.
Frequently Asked Questions (FAQ)
Q: I have arthritis/limited hand strength. Can I still do pottery?
A: Absolutely. Many handbuilding techniques are adaptable. Coil building or slab work can be less demanding on grip strength than wheel throwing. Discuss your needs with the instructor beforehand—they can often provide modified tools or suggest alternative techniques.
Q: How much does a typical beginner pottery class cost?
A: Prices vary widely by location and studio. A single 2-3 hour introductory workshop can range from $50-$80. A 6-week course, meeting once a week, typically ranges from $250-$400, which usually includes all materials, firing, and instruction.
Q: Is pottery safe for kids? What’s a good age to start?
A: Pottery is excellent for children, fostering creativity and motor skills. Dedicated kids’ classes are often available for ages 6 and up, focusing on handbuilding and simple projects. Always ensure the class is age-appropriate and supervised.
Q: What’s the most common mistake beginners make?
A: Using too much force and too little patience. On the wheel, gentle, consistent pressure is more effective than strong, erratic pushing. With clay, you are guiding, not forcing.
Q: How long does it take to get “good” at pottery?
A: You can make a simple, pleasing pot in your first class. Developing consistent skill and your own style takes regular practice—think in terms of months and years, not weeks. The journey is the reward.
Conclusion: Your Clay Journey Awaits
Embarking on your first pottery class is an investment in creativity, community, and personal well-being. It’s a chance to unplug, get messy, and connect with an ancient craft in a modern setting. Remember, every potter on Instagram started with a lump of clay and a leap of curiosity.
Your unique journey as a maker begins with that first step—booking a class. Find a studio that feels welcoming, arm yourself with the knowledge from this guide, and step forward with an open mind and a readiness to learn. We can’t wait to see what you create.
Have you taken a pottery class recently? Share your experience or your first-creation photos in the comments below! Thinking about it? Bookmark this guide and share it with a friend who might want to join you on this creative adventure.

Grace is a lifestyle writer from California who loves starting mornings with positivity. At Mornetic, she shares uplifting quotes and cheerful messages to brighten your day.